What is Figma?
STEP 1-Understanding What Figma Is & Opening Your First File
What I will teach you in Step 1
In this step, you will learn:
What Figma is used for
How to open Figma
How to create your first blank design file
How the Figma screen is divided (very important)
1. What is Figma?
Figma is not for coding.
Figma is used to:
Design website pages
Design mobile app screens
Show visual demos to clients
Plan UI/UX before development
Think of Figma as:
A digital whiteboard where you design websites and apps visually
2. Open Figma
Open Google Chrome
Go to: figma.com
Click Log in (or Sign up if new)
Choose Free plan
After login, you will see the Figma Dashboard.
3. Create Your First Design File
On the dashboard:
Click “New design file”
A new tab will open — this is your design workspace
4. Understand the Figma Screen

Your screen has 4 main areas:
(A) Canvas — Middle Area
This is your working area
You design everything here
Think of it as a blank paper
(B) Toolbar — Top
Tools like:
Move
Frame
Shapes
Text
We will use these one by one later
(C) Layers Panel — Left Side
Shows what elements exist
Like Photoshop layers
Very important for organizing designs
(D) Properties Panel — Right Side
Controls:
Size
Color
Fonts
Alignment
This is where design control happens
5. Your First Hands-On Action
Look at the middle blank area
Zoom using:
Ctrl + Mouse Scroll(Windows)Cmd + Mouse Scroll(Mac)
Practice:
Zoom in
Zoom out
Drag the canvas with:
Hold Spacebar
Drag mouse
This builds basic hand control in Figma.
What You Should Have Achieved Now
You should now be comfortable with:
Opening Figma
Creating a file
Understanding where things are
Moving and zooming inside the canvas
No design yet — this foundation is critical.
STEP 2 — Frames (Creating Website & Mobile Screens)
What you will learn in this step
By the end of this step, you will:
Understand what a Frame is
Create website and mobile screens
Learn why everything in Figma starts with a Frame
This is the most important concept in Figma.
1. What is a Frame?
In real life:
A website opens inside a browser window
A mobile app opens inside a phone screen
In Figma:
A Frame = Screen
No frame = no proper design.
2. Select the Frame Tool
Look at the top toolbar
Click the Frame tool
(Shortcut: press F on keyboard)
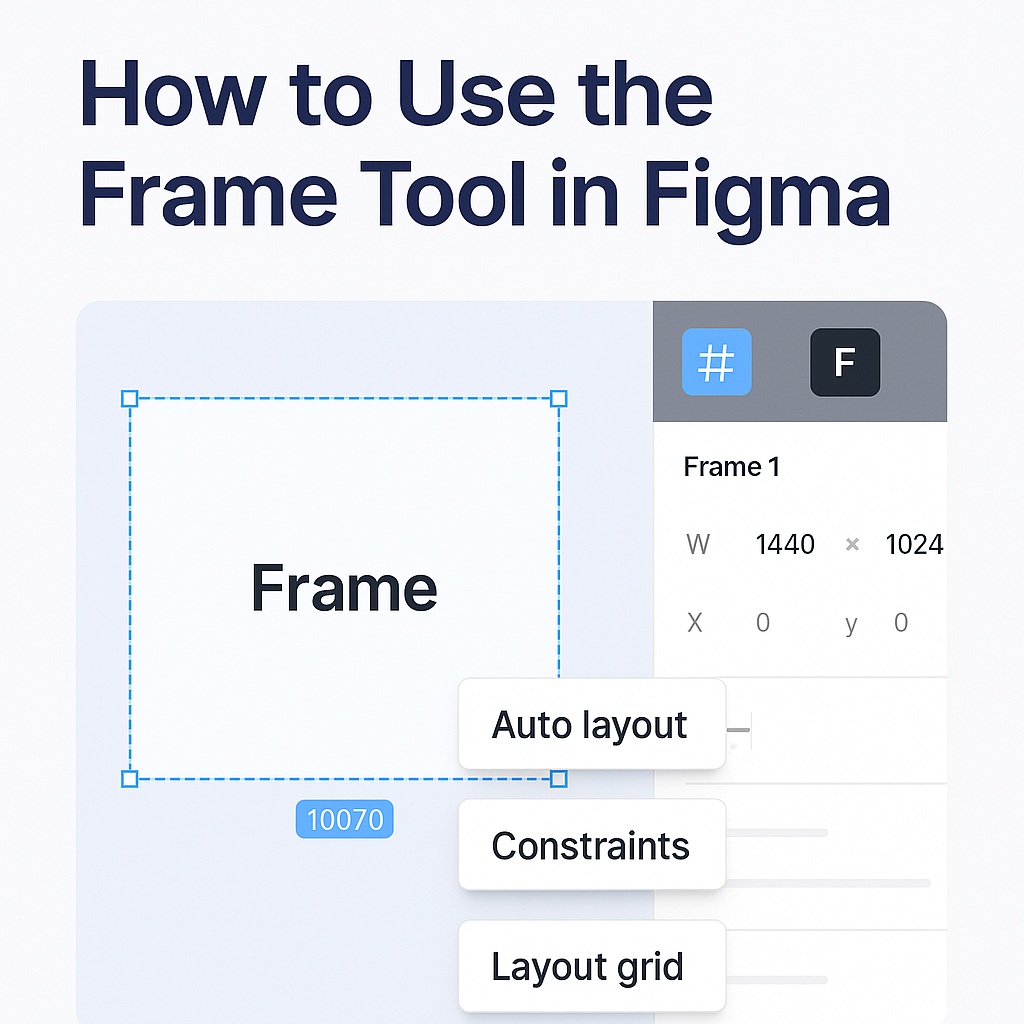

When Frame tool is active:
The right panel changes
You will see device presets
3. Create a Website (Desktop) Frame
With Frame tool selected
On the right panel, find Desktop
Click Desktop – 1440px
You will see:
A big white rectangle appear in the canvas
This is your website screen.
4. Rename the Frame (Very Important)
Look at the left Layers panel
You will see something like:
Frame 1Double-click on it
Rename it to:
Website – Home Page
(Professional habit. Never skip this.)
5. Create a Mobile App Screen (Side by Side)
Press F again
On the right panel → Phone
Select iPhone 14 / 15 (any is fine)
Now you have:
One Website frame
One Mobile frame

6. Move Frames Properly
Press V (Move tool)
Click on the frame border (not inside)
Drag frames side by side
Practice selecting:
The frame
Not empty space
7. Resize Frame Height (Real Website Behavior)
Websites scroll vertically.
Select Website – Home Page frame
Drag the bottom handle downward
Make it taller (around 2000px)
This simulates scrolling website content.
What You Should Have Now
You must have:
1 Desktop frame (Home Page)
1 Mobile frame
Both renamed properly
Frames placed neatly
This is the base of all UI design.